
Workflow
Design a Crochet Graph from a Visual Reference
Start with a blank grid, define stitch or block units and build a motif with labels and row notes.
Originals, made for making
Coastal light
Follow each design from original artwork to an editable chart and an illustrated craft finish. Open the chart to adjust colors, edit cells and print your own version.
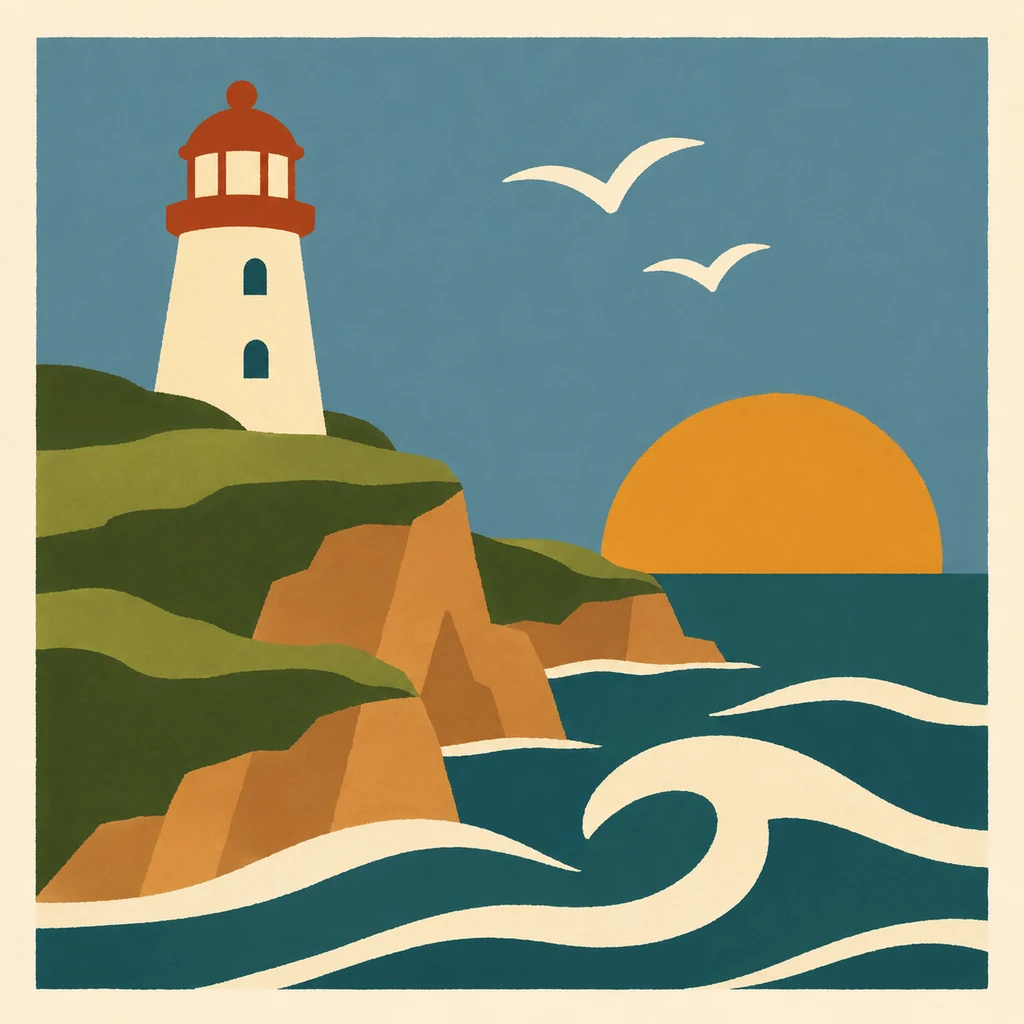
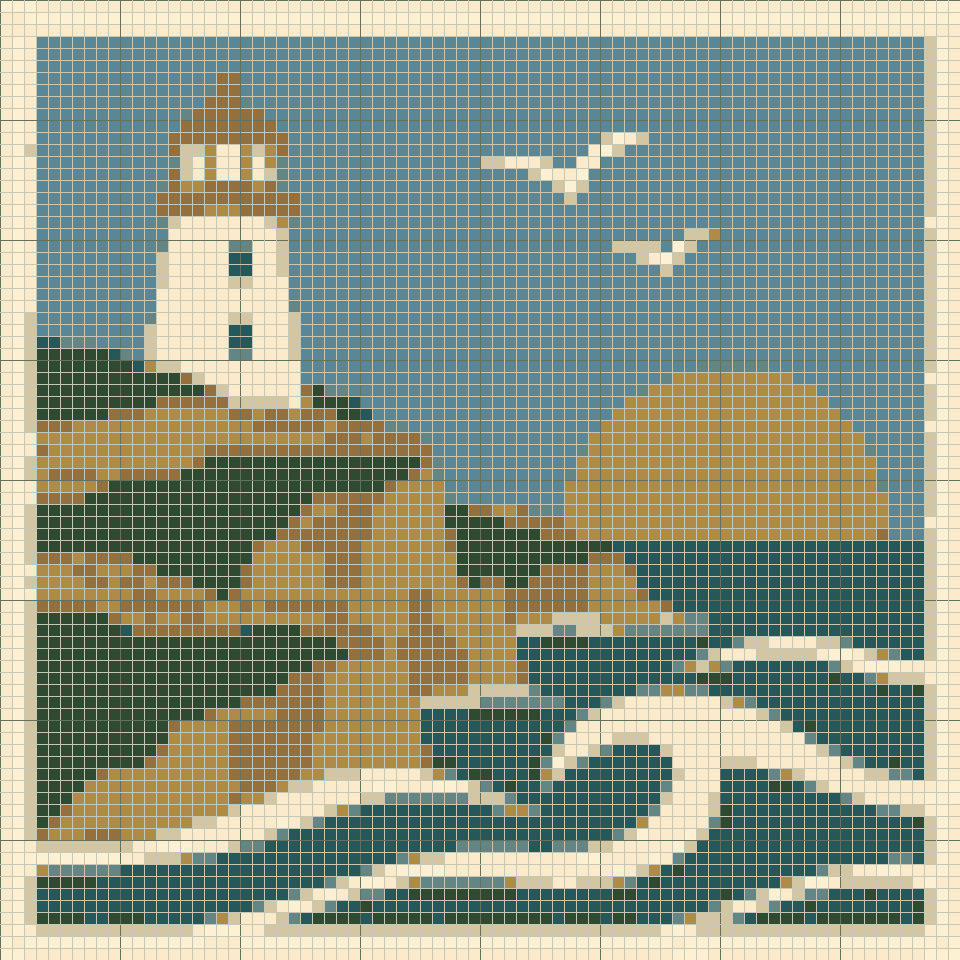
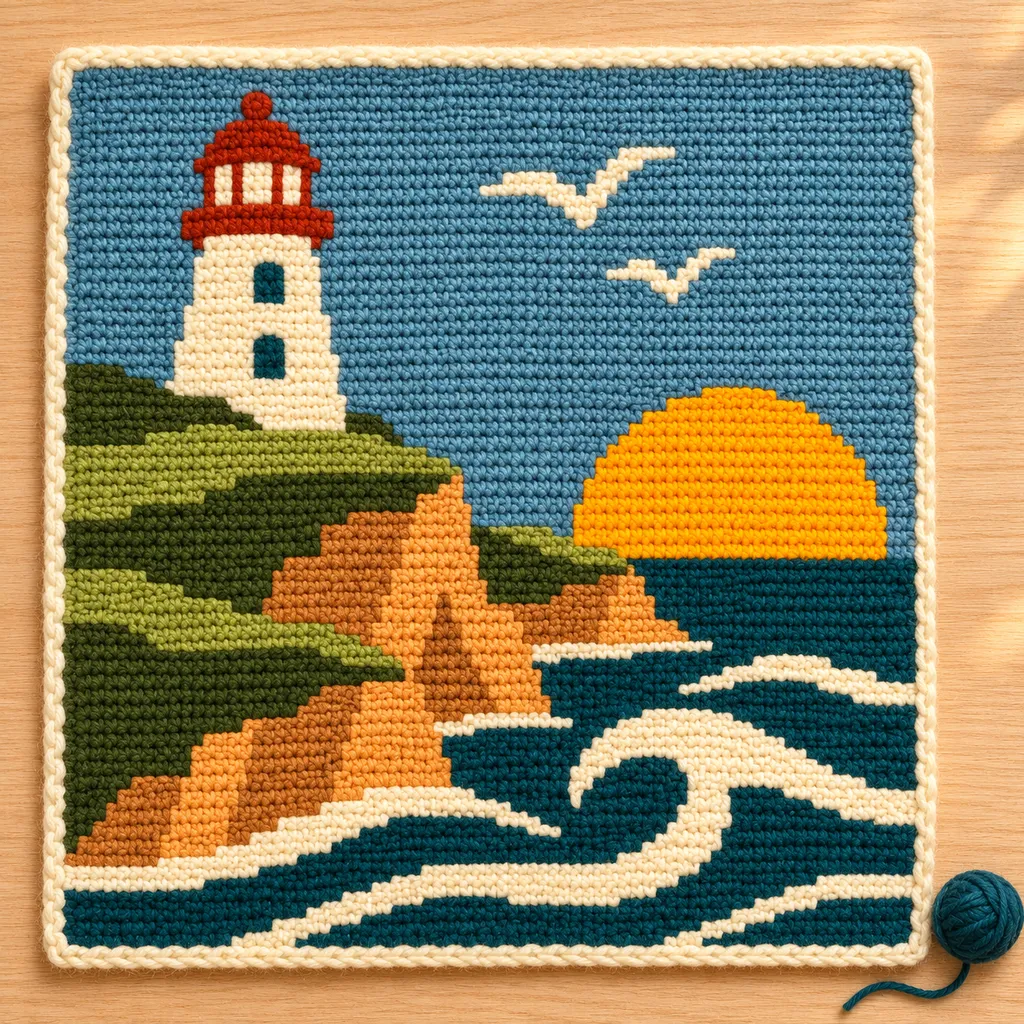
AI mockups illustrate a possible finish, not an exact rendering of the chart. The editable chart is actual tool output; physical making has not been tested.
Choose the Right Workspace
Use Crochet Graph Maker for a manually planned stitch or block grid. Choose Tapestry Maker when you need a measured single-crochet gauge, or Filet Maker for open and filled meshes. The general graph is not a free-form crochet symbol editor and does not interpret arbitrary stitch diagrams.
Decide What a Cell Means
Select stitch or block units before drawing. That label records your chosen meaning; it does not generate the construction of a block. Keep any construction method in your own project notes. Row information follows horizontal grid rows, not a diagonal C2C working sequence.
Reduce the Reference to a Few Shapes
Use the original artwork shown above, or upload an image you have permission to use. Crop around a recognizable subject and keep its outline inside the frame. Open the example to inspect its editable chart; choose a small grid for your first attempt.
Build and Refine the Motif
Use Pencil, Eraser and Fill area, then selection tools for copying or mirroring a repeated element. Review a pasted area before applying it, including blank cells that may replace existing work. Resize existing canvas adds room or crops edges; choose an anchor and inspect the removal count before confirming.
Name Materials and Add Useful Notes
Use material names that mean something away from the screen, such as your yarn label rather than Color 1. Add row notes for project-specific reminders. Notes are part of the saved project and printed row guide. They do not change cell counts or automatically create stitch instructions.
Check the Graph with Its Legend
Download JSON for editing and use Print / Save PDF for the chart and its key. PNG is a visual reference; CSV lists material counts. Open the saved files and check them before starting. The displayed craft mockup is AI-generated, not a photograph of a physically tested project.
Before you start
- The meaning of one cell is written down.
- The workspace matches the technique.
- Material names remain understandable in print.
- Row notes and a backup project have been saved.
Crochet graph Questions
Is block mode a C2C instruction generator?
No. It labels cells as blocks and provides horizontal row information. It does not generate diagonal C2C rows, increases or decreases.
Does the selected cell ratio change printing?
It changes the preview. Printing uses square reference cells and records the chosen ratio; it is not an actual-size fabric template.
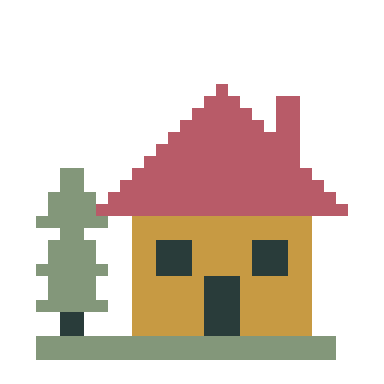
Practice with a Working Digital Sample
Pine cottage · 32 × 32 · Blank-first color grid · Stitch or block labels · Custom palette, cell proportions and row notes
Crochet graph Guides & Help
Organize Graph Layouts, Repeats and Row Notes →
Use selection and canvas controls carefully, then preserve a clear legend and working notes for your graph.
Add Names and Short Messages to Your Pattern →
Preview block lettering, fit it to your chart and preserve the result in any of the five makers.
Save, Back Up and Resume Your Patterns →
Save local or cloud projects, keep editable backups and resume row progress across all five makers.
Choose PDF, PNG or CSV and Check Print Settings →
Pick the right export, match paper settings and review page boundaries before making your project.
How to Design a Custom Crochet Graph →
Build a blank-first graph with custom color labels, cell proportions and saved row notes.