How to Turn a Photo into a Cross Stitch Pattern →
Choose a clear image, crop the subject, set the stitch count and simplify colors before reviewing and printing your chart.
 MotifDraft
Your pattern, your pace
Turn a photo or a blank canvas into a cross stitch chart you can edit and print.
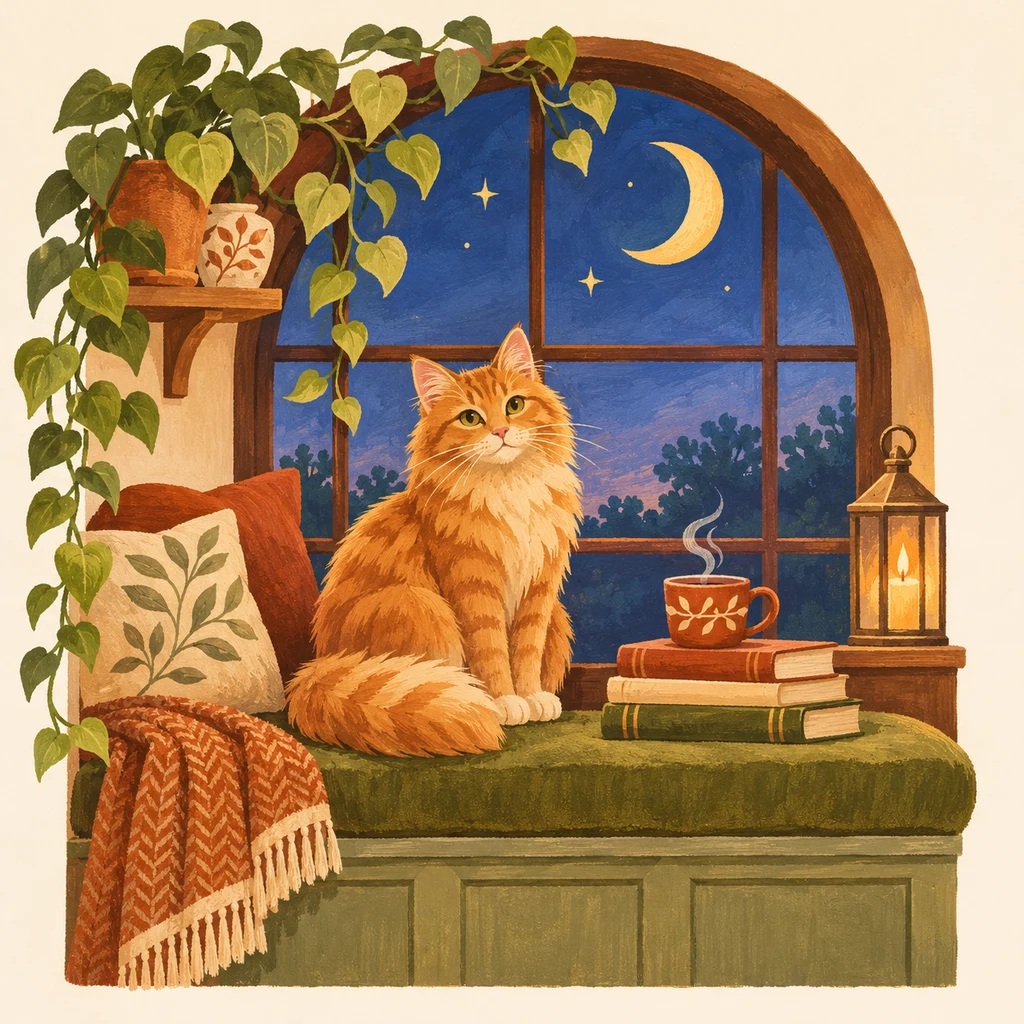
Originals, made for making
Follow each design from original artwork to an editable chart and an illustrated craft finish. Open the chart to adjust colors, edit cells and print your own version.
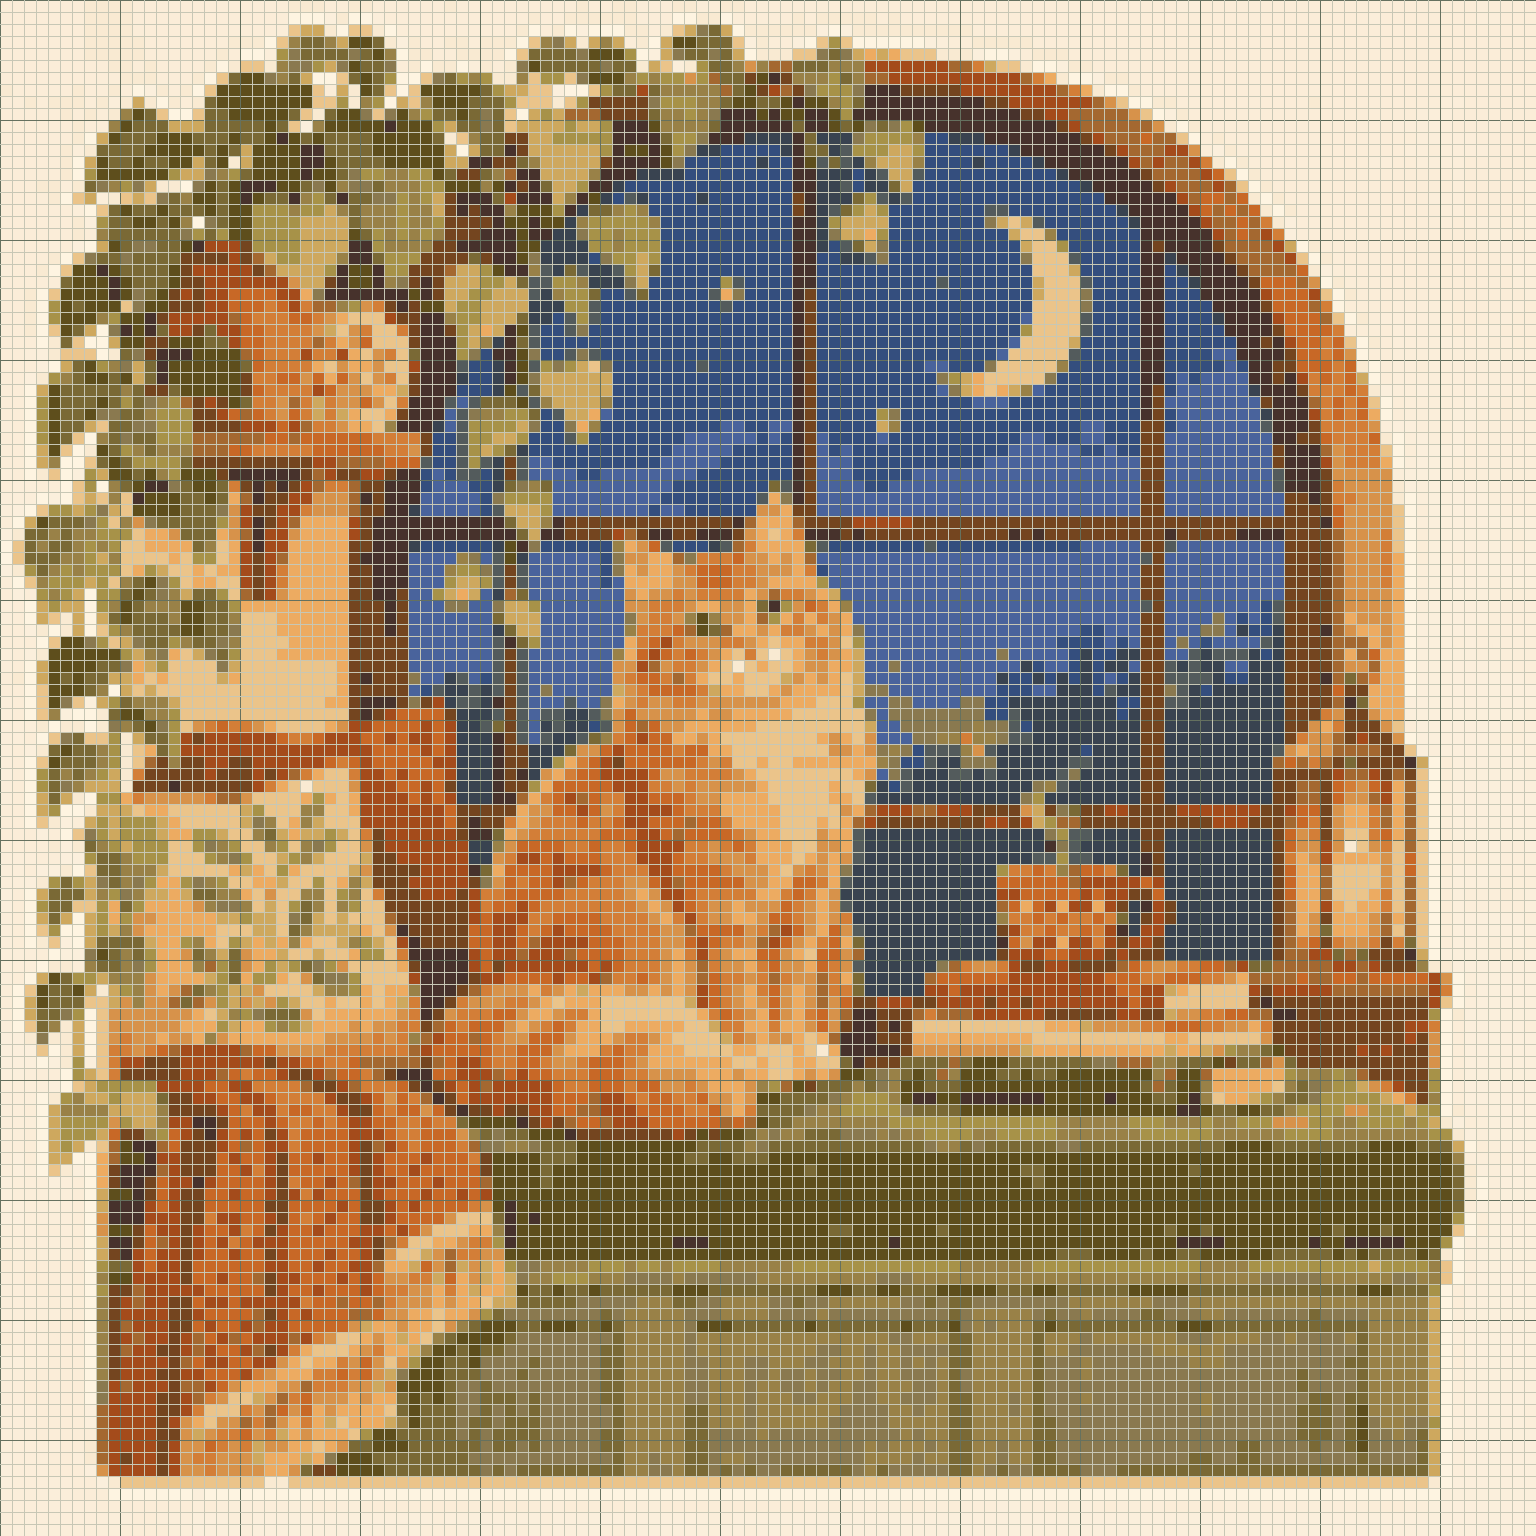
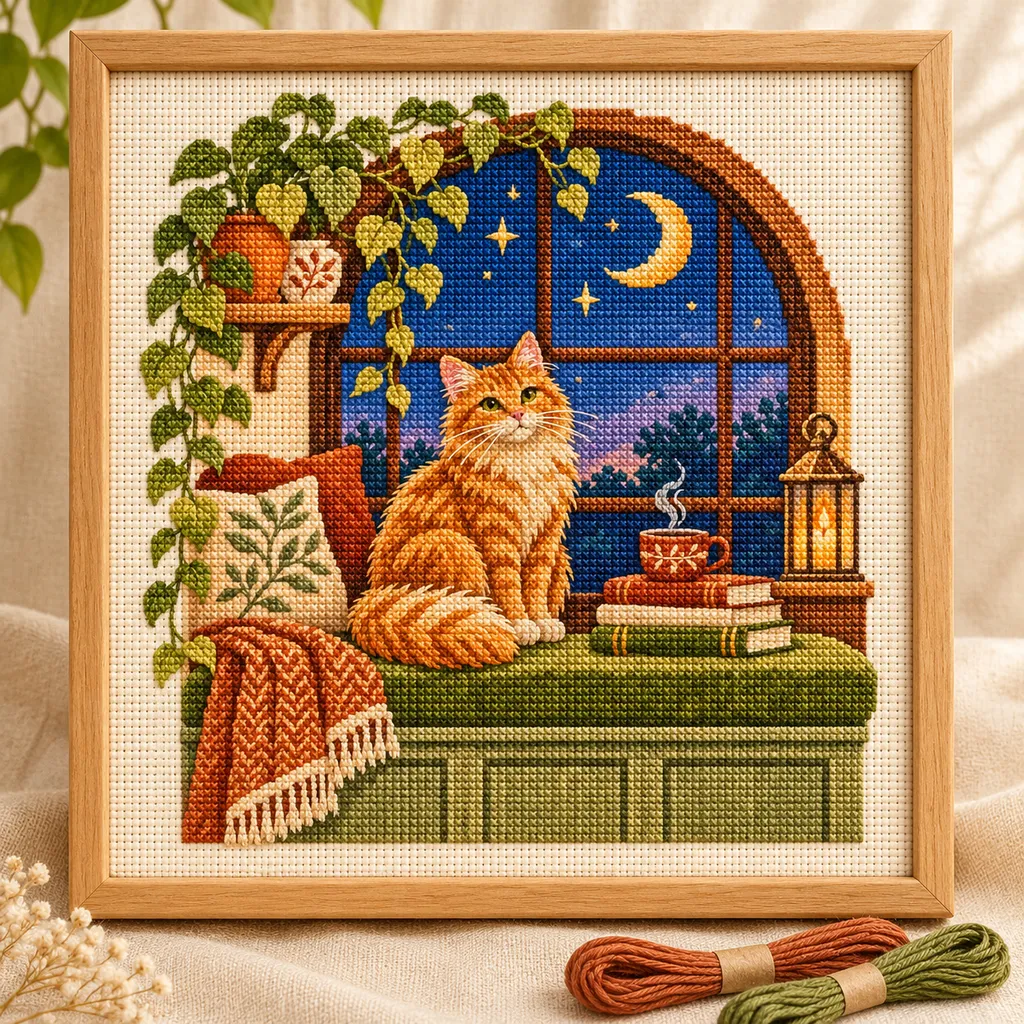
AI mockups illustrate a possible finish, not an exact rendering of the chart. The editable chart is actual tool output; physical making has not been tested.
Follow each design from original artwork to an editable chart and an illustrated craft finish. Open the chart to adjust colors, edit cells and print your own version.
Drag a crop rectangle or enter edge percentages. Adjust brightness and contrast while comparing the next-chart preview. Remove edge background removes similar colors connected to the image edge; check that wanted details remain. Generate applies the settings to the chart.
Follow the photo conversion guide →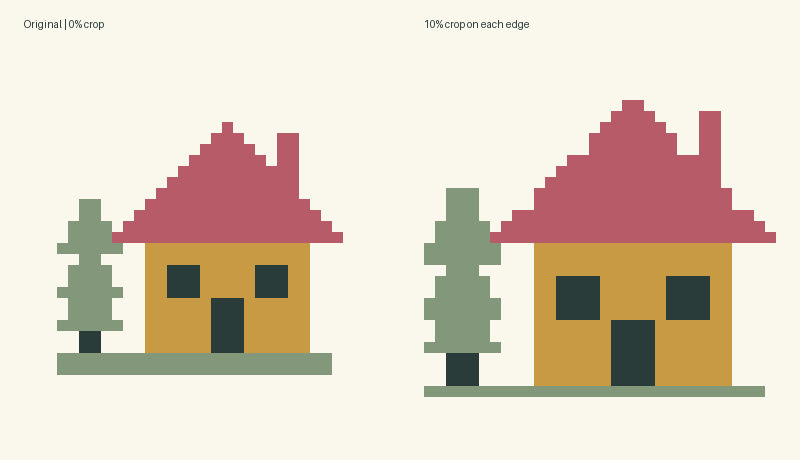
Yes. Set width and height from 8 to 160 on Free, or up to 400 with Maker Plus. These settings apply to the next generated or blank chart. Use Resize existing canvas to add space or crop an existing design without resampling it.
A 70 × 70 stitch design on 14-count fabric is 12.7 × 12.7 cm. Fabric count changes the finished size, not the number of stitches. The editor shows the design area; add your own border allowance.
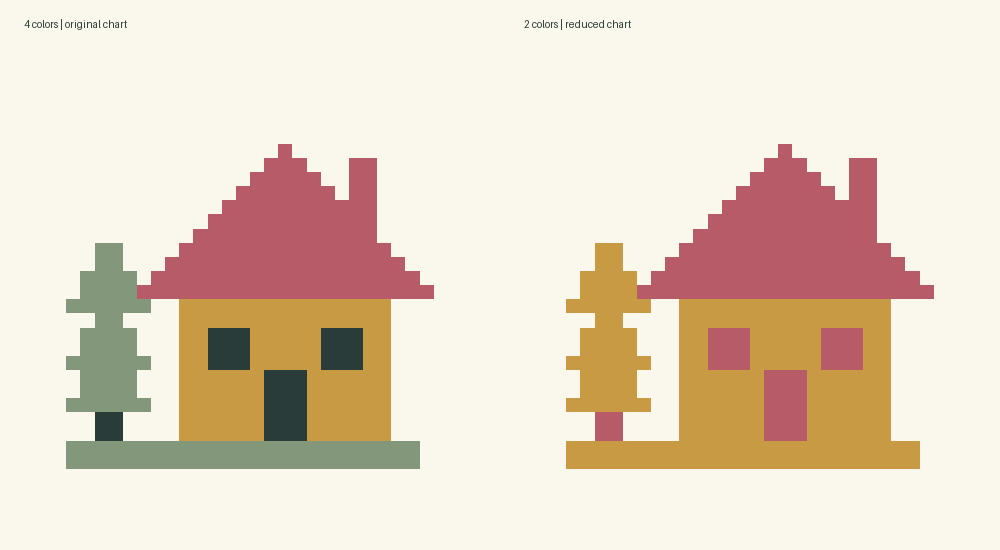
Choose up to 30 colors from 489 DMC references, or up to 12 custom colors. Match current pattern applies a palette to the existing grid. Color merging can simplify selected details.
Highlight Single stitches, then use Pencil, Eraser or Fill area. Some single stitches are intentional; the editor does not automatically remove them. Undo and Redo retain up to 30 recent edits.
Save project keeps editable JSON. Export settings offers A4 or Letter, black-and-white or colored symbols, and 3, 4 or 6 mm reading cells. Inspect chart sections before opening Print / Save PDF. PNG and material-count CSV downloads are also available.
Match paper settings in the print dialog, use 100% scale and disable browser headers and footers. Check the 50 mm calibration line. Pages contain up to 40 × 40 stitches; larger cells may reduce that capacity. Follow the printed ranges without overlap.
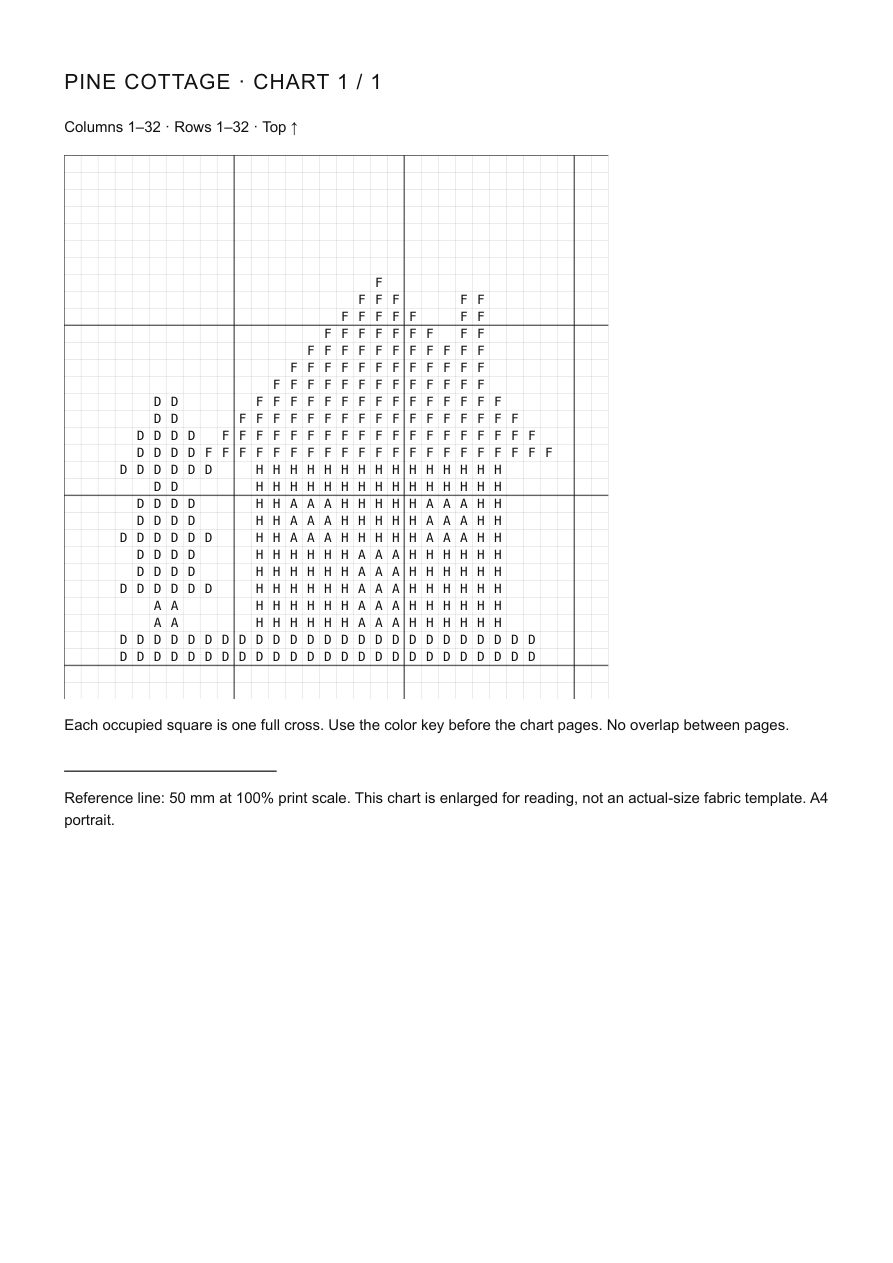
Full cross stitches only. This editor does not create backstitches, fractional stitches, thread-length estimates or instructions for other crafts. Screen colors are approximate. Physical stitching of this sample is still pending; test a small section before a large project.
Add block lettering for a name or short phrase, then select an area to copy, move, mirror or rotate it. Resize existing canvas adds space or crops the edges without regenerating the artwork. Review the preview and any overwrite warning.
Add lettering step by step →Switch to Make mode to lock drawing and mark completed rows. My projects keeps separate charts, copies, notes and progress in this browser. One automatic draft per maker protects recent edits; download JSON for a separate backup. Source photos and undo history are not saved.
Saving and recovery guide →Choose a clear image, crop the subject, set the stitch count and simplify colors before reviewing and printing your chart.
Read the grid, symbols, color key and page coordinates using an annotated chart exported from the actual editor.
Preview block lettering, fit it to your chart and preserve the result in any of the five makers.
Save local or cloud projects, keep editable backups and resume row progress across all five makers.
Pick the right export, match paper settings and review page boundaries before making your project.
Yes. Free includes local conversion and editing up to 160 × 160, plus PNG, CSV, JSON and basic PDF printing without an account. Maker Plus supports up to 400 × 400. Cloud saving requires sign-in; Free accounts can save 5 cloud projects.
Try a sample first, then use a small grid and a few colors. Review individual cells and print a test page before starting a large project.
Choose up to 30 colors from 489 DMC references, or up to 12 custom colors. Match current pattern applies a palette to the existing grid. Color merging can simplify selected details.
Yes. Create or edit your chart, open Export settings, choose A4 or Letter, then use Print / Save PDF. Select Save as PDF in your browser’s print dialog. Check the saved file; canceling the dialog creates no PDF.
Upload a photo, crop the subject and choose the grid dimensions and colors. Generate the pattern, then review and edit it before exporting.
Stitch count is the chart width and height in stitches. Fabric count is the number of stitches per inch when working one full cross per fabric square; it determines the design size.
Small image variations can produce isolated stitches. Reduce the color count, merge similar colors or enable Single stitches to review and edit them manually.
No. DMC references are community approximations and custom colors are screen references. Check your physical thread before starting.
Yes. Export settings offers black-and-white or colored symbols, A4 or Letter and 3, 4 or 6 mm reading cells. Match the paper in the print dialog, use 100% scale and turn off headers and footers.
Yes. Local drafts and downloaded JSON preserve your chart and row progress. Sign in and choose Save to cloud to continue on another device, then save changes explicitly. Signing in does not upload local projects automatically. Keep a separate JSON backup.
You retain your existing rights. Personal or commercial use of a chart depends on the source-image and material-data licenses; generation grants no third-party rights. Keep required credits. AI effect images are illustrations, not photographs of tested crafts.
Images are processed locally. Conversion, editing and basic exports need no account. Optional cloud saving requires sign-in and stores the chart when you choose Save to cloud; source photos are not included. Local drafts are not cloud backups.