
Getting started
How to Turn a Photo into a Cross Stitch Pattern
Choose a clear image, crop the subject, set the stitch count and simplify colors before reviewing and printing your chart.
Practice with a Working Digital Sample
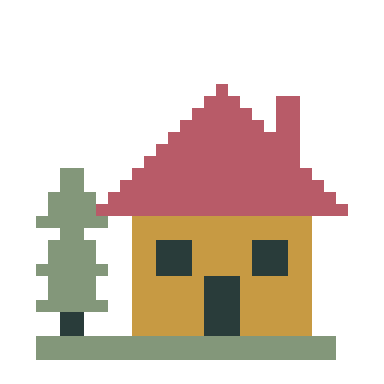
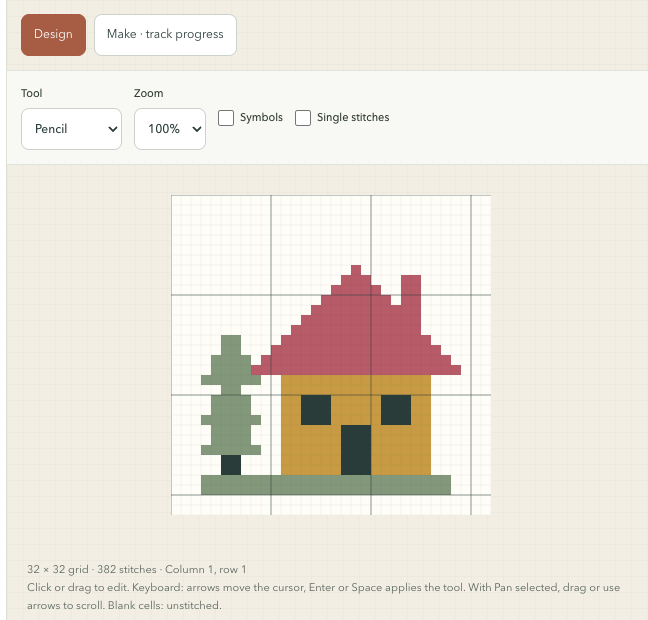
A beginner-friendly pine cottage: 32 × 32 cells, four colors and 382 full crosses, with large connected areas and no isolated stitches. Open the editable chart or download its actual PDF.
This is a digital example; no physical craft sample is shown.
Choose a Photo That Will Convert Well
Start with Pine cottage, a small four-color pixel illustration with large connected areas and no isolated stitches. The source, chart, screenshots and PDF all use this beginner design. Download the original artwork above and choose Upload an Image to follow the steps. The cat study at the end is a separate, more detailed inspiration example.
Clear Subjects and Simple Backgrounds
Choose a subject with a recognizable silhouette and enough contrast to stand apart from its background. For the cottage, keep the roof, tree and base inside the crop.
Images That Need More Editing
Small faces, text, shadows and fine textures may need tighter cropping, a larger grid or manual editing. Start with this flat-color cottage before attempting fine photographic details.
Crop and Simplify the Image
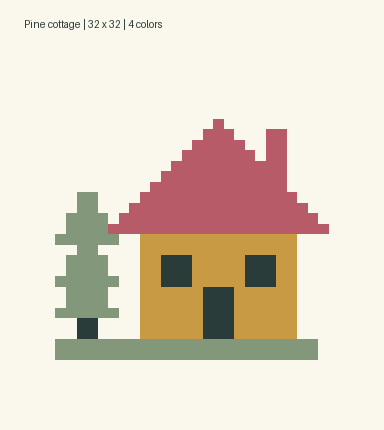
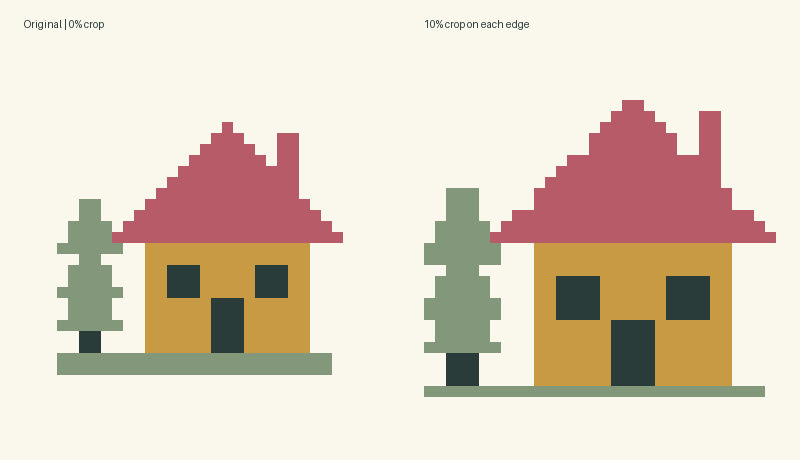
Drag a crop rectangle on the original image or enter Crop image edges percentages. Adjust brightness and contrast while watching the next-chart preview. Remove edge background removes matching colors connected to the crop edge; it does not recognize the subject or remove enclosed areas. Review lost details before generating. The comparison below uses a 10% crop; leave all edges at 0% to reproduce Pine cottage.
Choose the Stitch Count
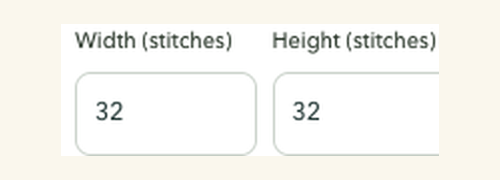
Use 32 × 32 stitches for this sample, with 14-count fabric. The design area is 5.8 × 5.8 cm before borders. More stitches increase detail and work. Changing fabric count changes the design size without changing the stitch grid.
Reduce and Review the Colors
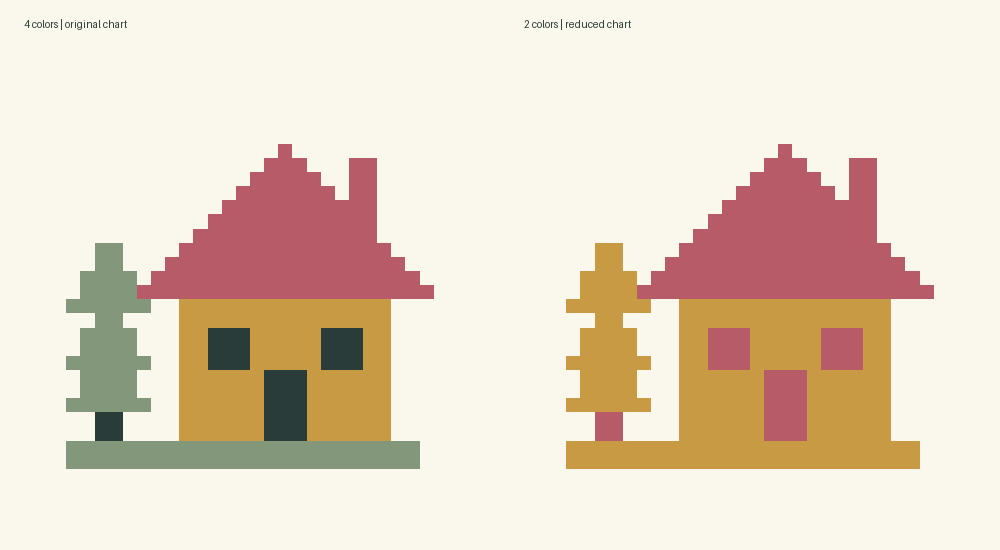
Choose Custom and a maximum of 4 colors, then Generate pattern. Compare the four-color output with a two-color version below. DMC is also available with up to 30 colors; check its community references against physical thread. In Colors, search by DMC number or name and Add / select color to paint with a missing thread. Replace selected color changes every cell using that color; replacing with an existing thread merges entries. Undo, Save project and the printed key preserve your selections.
Remove Unwanted Single Stitches
Enable Single stitches to highlight isolated squares. Click or drag with Pencil and Eraser; Fill area changes connected squares of the same color. One Undo restores a whole stroke. Choose Pan canvas to move around without editing. On a phone, switch between Settings, Canvas and Colors. Keyboard users can move with arrow keys and apply a tool with Enter. Keep intentional details. Undo and Redo retain up to 30 recent edits.
Save the Design and Track Your Rows
A local draft is saved automatically in this browser. Download JSON as a separate backup, especially before replacing a chart. Make mode locks drawing and tracks completed rows. Drafts and project files preserve progress; source images and undo history are not retained. Use selection and Resize existing canvas for layout edits without regenerating the photograph.
Check the Print Preview
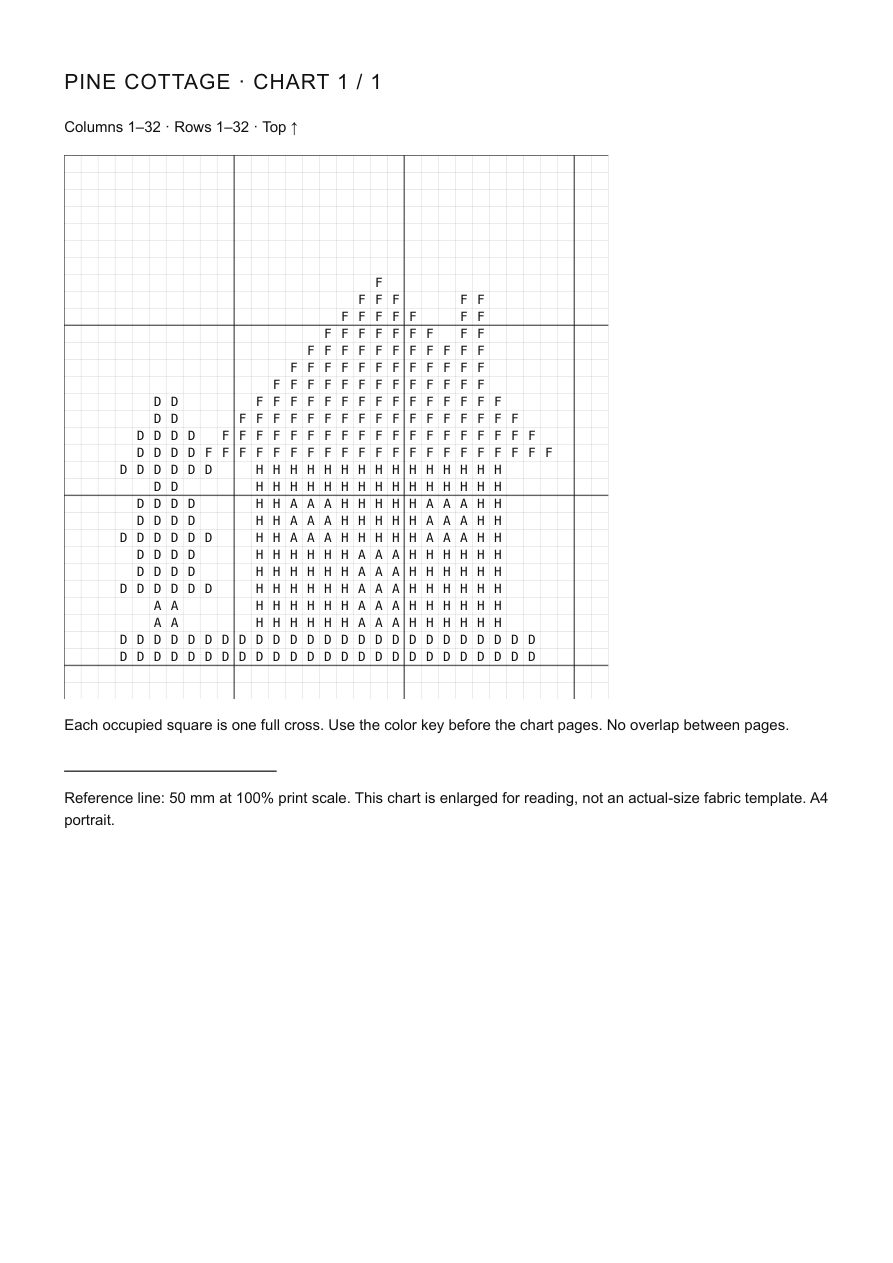
Save project first and check the JSON download. In Export settings & page preview, choose A4 or Letter, symbol style and cell size. Match the paper in the browser print dialog, use 100% scale and disable headers and footers. Canceling does not create a PDF. PNG and material CSV are also available, but neither replaces JSON. The image below is the separate Pine cottage A4 sample.
Common Conversion Problems
A stretched subject usually means the crop and grid have different proportions. A muddy result may need a tighter crop or higher contrast. Excessive single stitches may improve with fewer colors. Increasing the grid cannot recover detail missing from the original image.
Cross stitch Questions
Why does my converted face look unclear?
Try a tighter crop, better contrast or a larger grid, then review it manually. Small faces may not have enough source detail for a recognizable chart.
Should I use as many colors as possible?
Not necessarily. Extra colors may preserve detail but can also create more isolated stitches and a more complex project.
Can I use a small or blurry image?
You can test it, but missing detail cannot reliably be recovered by increasing the chart size.
Advanced inspiration
Moonlit window cat
Follow each design from original artwork to an editable chart and an illustrated craft finish. Open the chart to adjust colors, edit cells and print your own version.
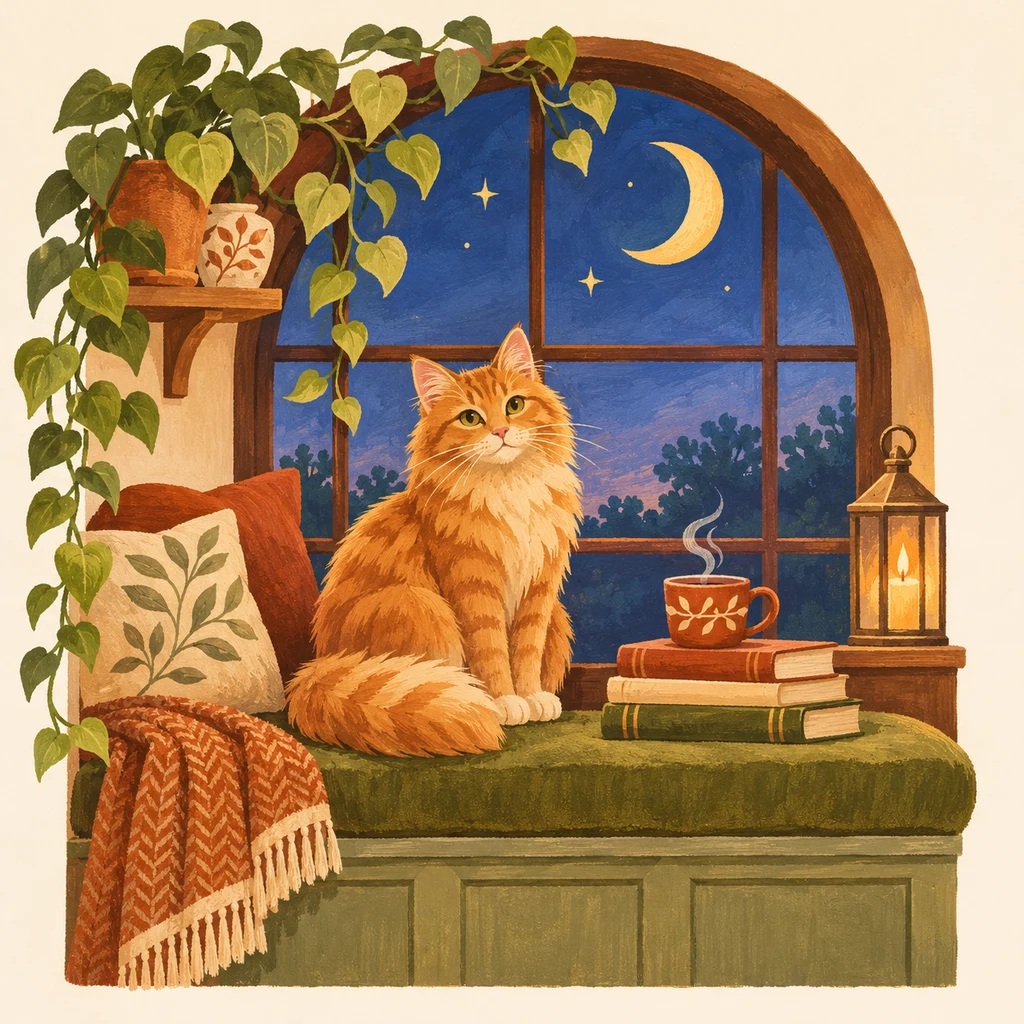
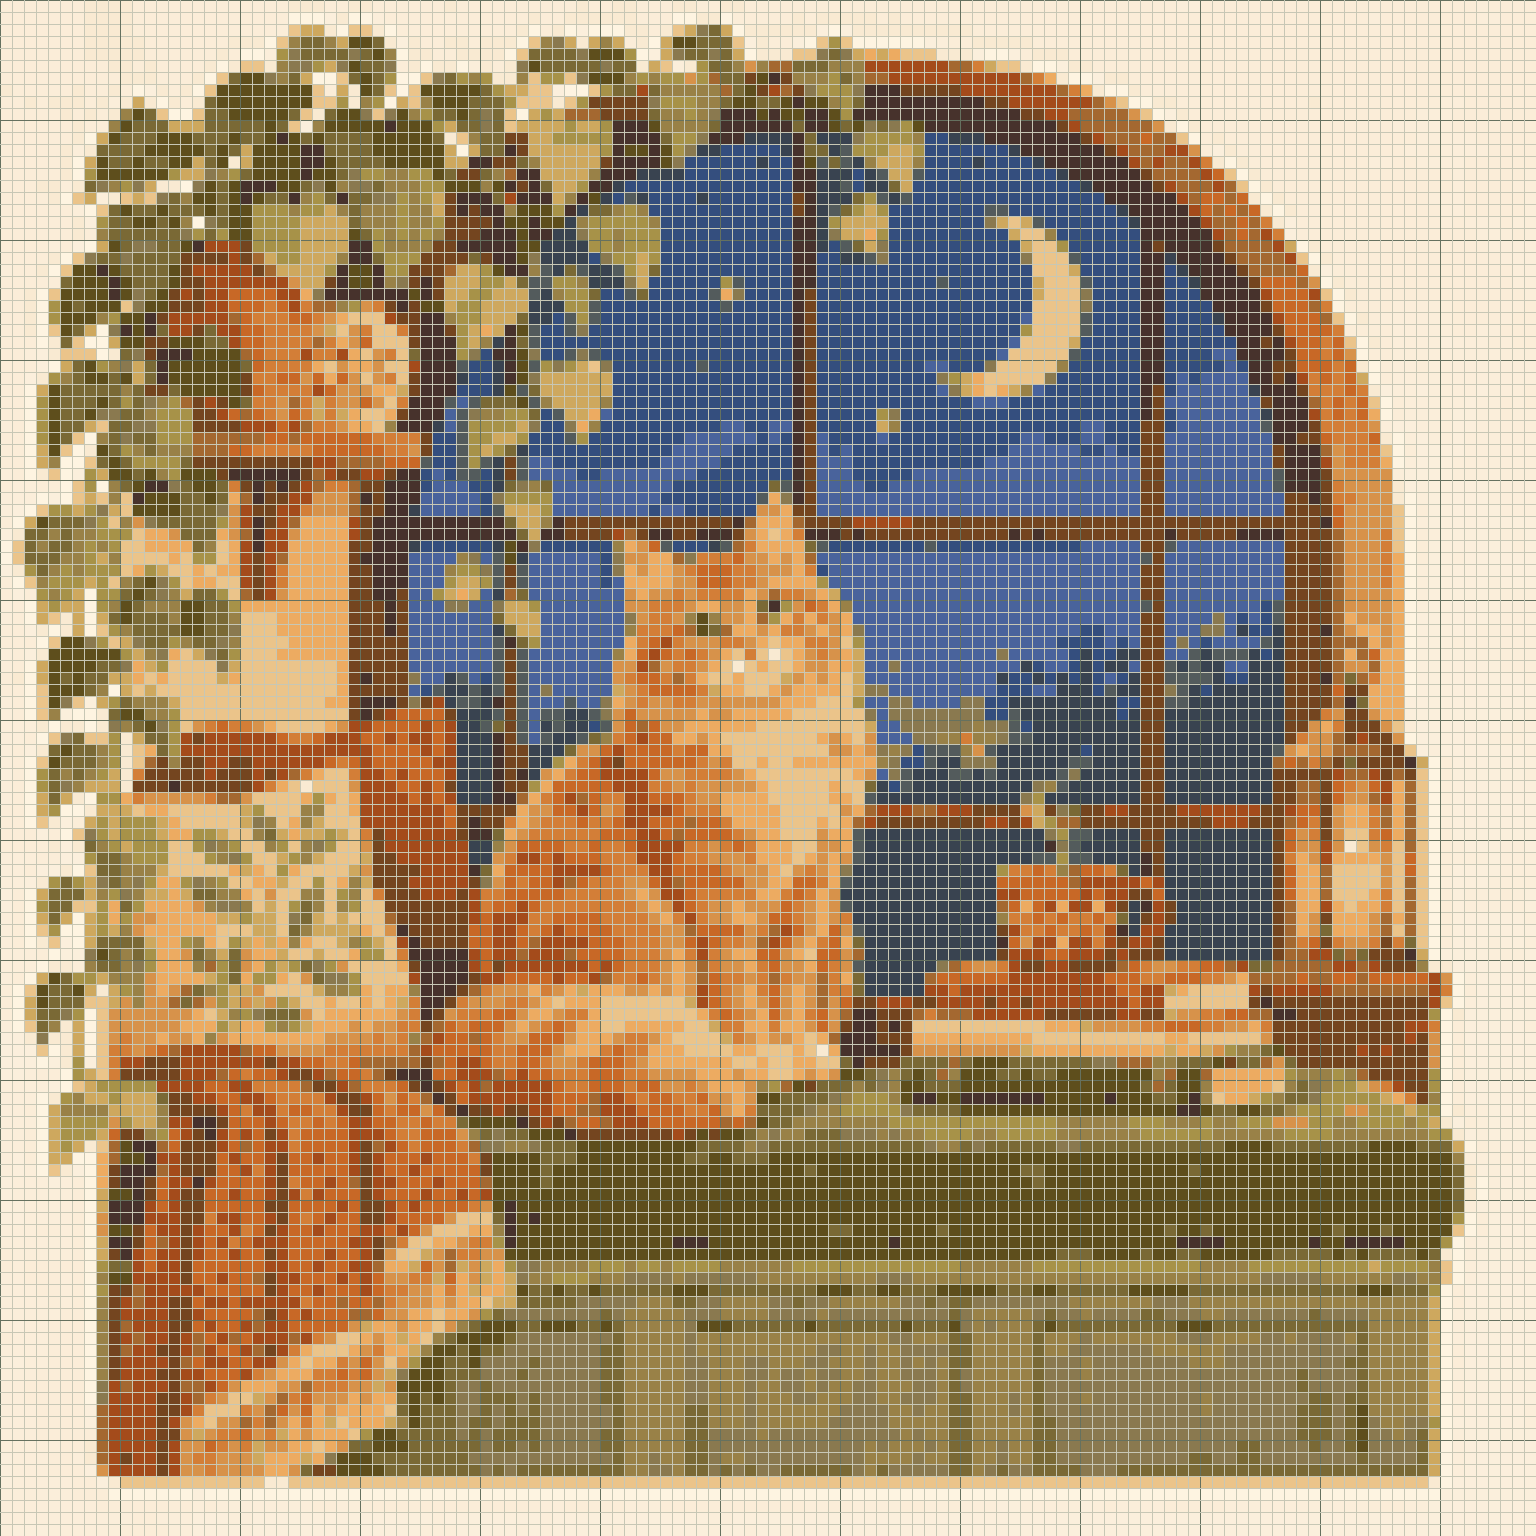
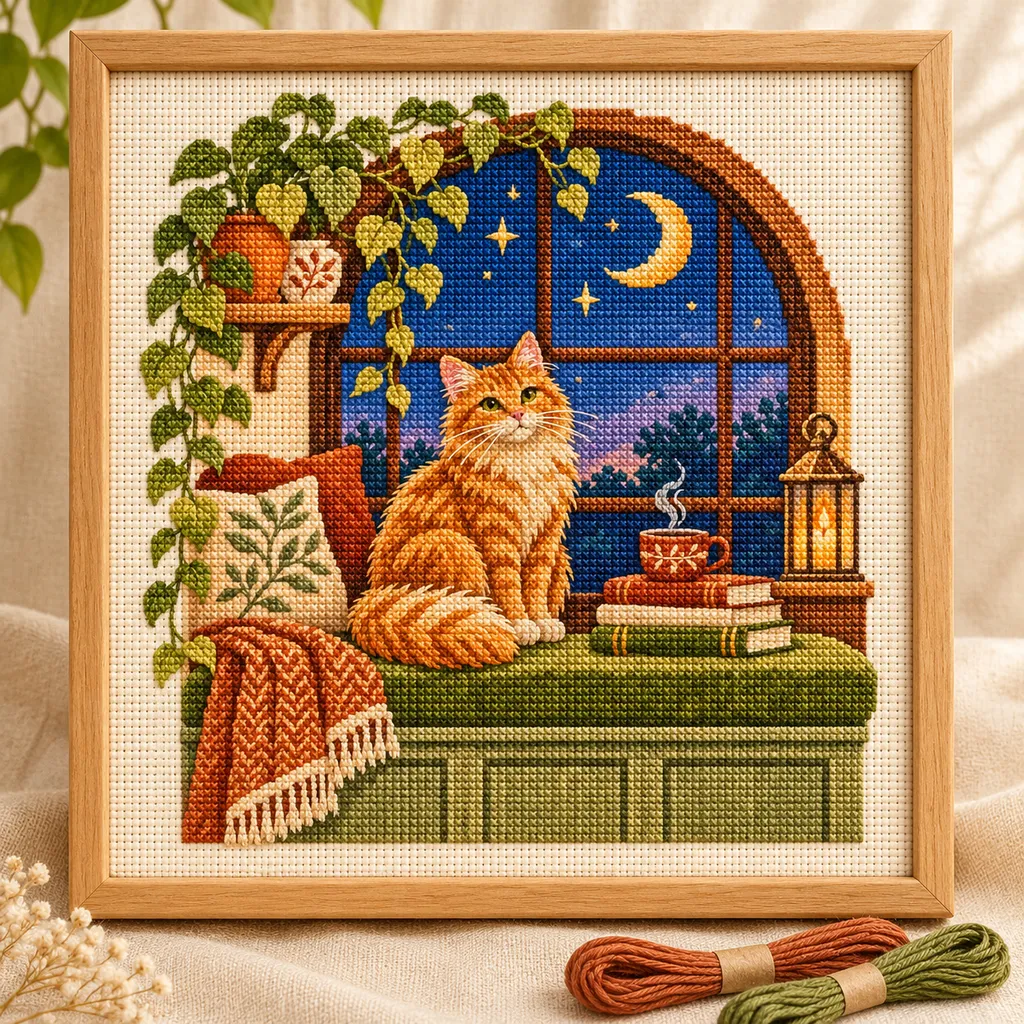
AI mockups illustrate a possible finish, not an exact rendering of the chart. The editable chart is actual tool output; physical making has not been tested.
Cross stitch Guides & Help
How to Read a Cross Stitch Chart →
Read the grid, symbols, color key and page coordinates using an annotated chart exported from the actual editor.
Add Names and Short Messages to Your Pattern →
Preview block lettering, fit it to your chart and preserve the result in any of the five makers.
Save, Back Up and Resume Your Patterns →
Save local or cloud projects, keep editable backups and resume row progress across all five makers.
Choose PDF, PNG or CSV and Check Print Settings →
Pick the right export, match paper settings and review page boundaries before making your project.