
Workflow
Prepare a Photo for a Filet Crochet Chart
Reduce a subject to open and filled meshes, compare threshold settings and check the silhouette manually.
Originals, made for making
Moonlight owl
Follow each design from original artwork to an editable chart and an illustrated craft finish. Open the chart to adjust colors, edit cells and print your own version.
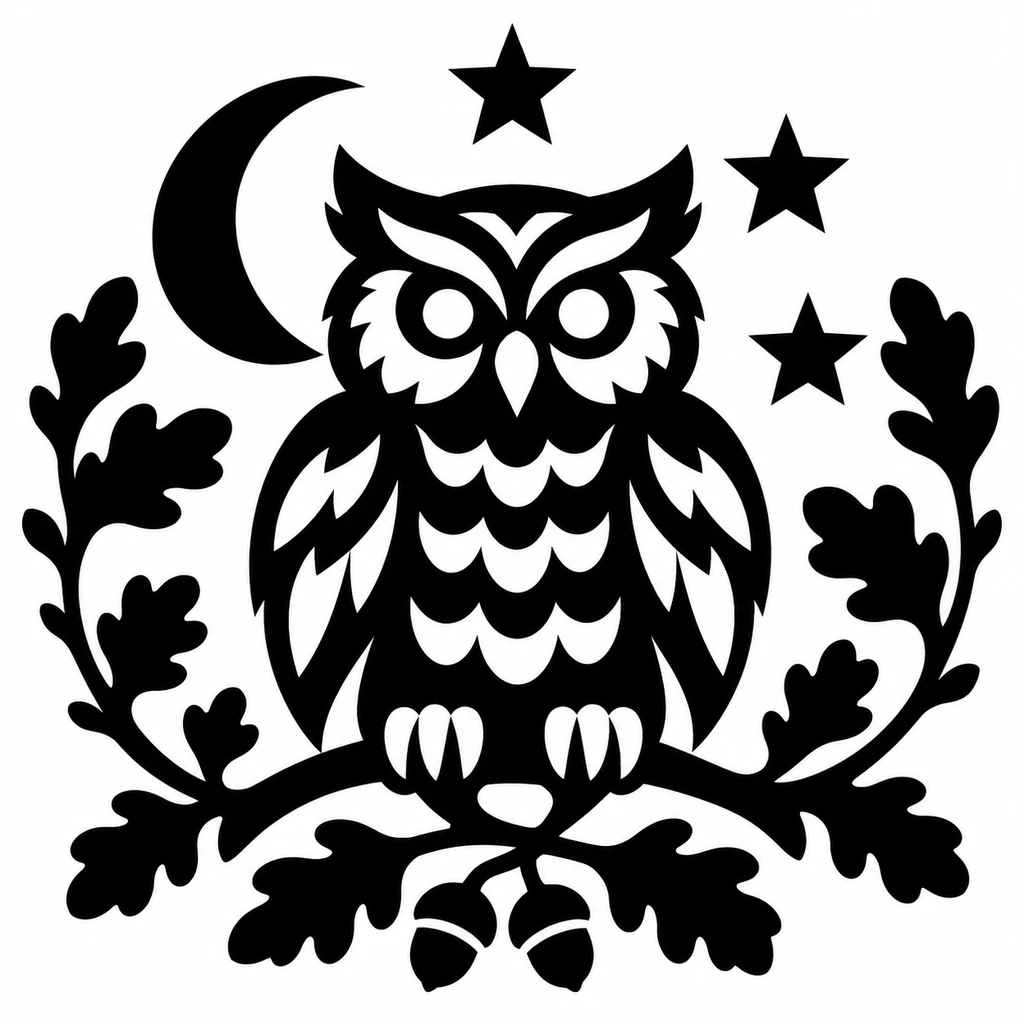
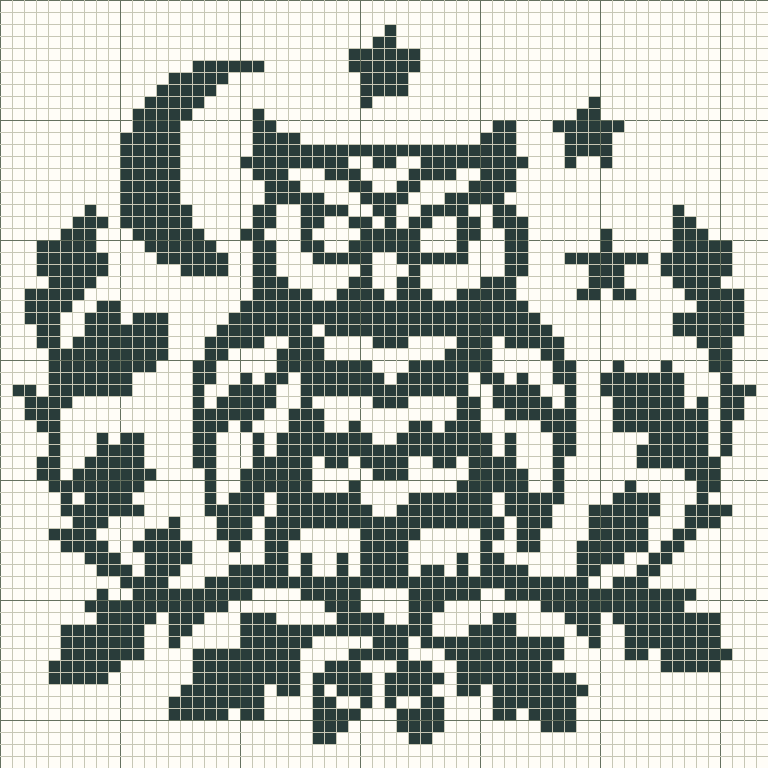
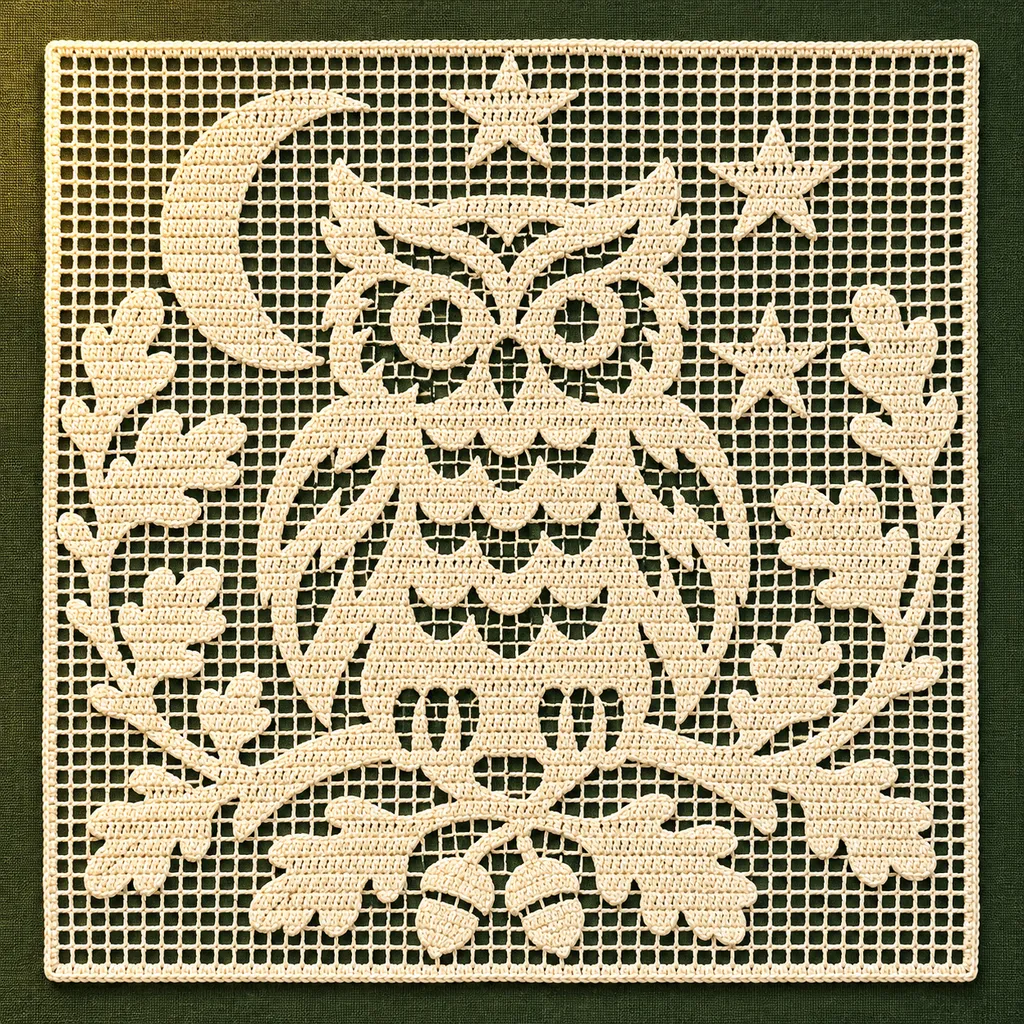
AI mockups illustrate a possible finish, not an exact rendering of the chart. The editable chart is actual tool output; physical making has not been tested.
Look for a Shape, Not Photographic Shading
Use the original artwork shown above, or upload an image you have permission to use. Crop around a recognizable subject and keep its outline inside the frame. Open the example to inspect its editable chart; choose a small grid for your first attempt.
Crop and Check the Remaining Background
Upload the image, keep the useful outline inside the crop and inspect the next-chart preview. Edge-background removal uses a color and tolerance, not subject recognition. On a busy photograph, some leaves may remain while parts of a similarly colored subject disappear. Undo or adjust the preparation instead of assuming the result is correct.
Compare Threshold and Invert
Threshold determines which opaque image areas become filled meshes. Invert reverses that decision; transparent pixels remain open. Compare the outline at a few settings, then generate only when the overall shape is useful. No single threshold can reliably separate subjects that overlap the background in brightness.
Repair the Open and Filled Meshes
Pencil fills meshes and Eraser opens them. Fill area changes connected regions, so inspect its boundary first. Remove small background islands and check narrow details. Select, copy or mirror an area when it helps the design, but review the placement preview and any overwrite confirmation before applying it.
Read the Convention Before Counting
This tool uses the stated 4-dc convention in US terms. Neighboring meshes share an edge post. Counts distinguish meshes from stitch positions; the displayed span is not a starting-chain instruction. Starting and turning chains must come from a tested method appropriate to your project.
Print and Work a Small Test
The editable chart is a digital example. The craft mockup is AI-generated; it does not prove stitch tension, material colors or finished dimensions. Test a small physical sample before making the full project.
Before you start
- Open and filled states are intentional.
- Transparent areas have been checked after invert.
- Mesh counts are not treated as chain counts.
- A tested starting and turning method is available.
Filet crochet Questions
Can I type a name and convert it directly?
Yes. Expand Add lettering in Settings to preview a name and place it as filled meshes. The built-in block alphabet supports A–Z, numbers and the displayed punctuation, with up to four lines. It does not support arbitrary fonts or scripts.
Why does invert leave some cells unchanged?
Transparent pixels stay open in both modes. Invert changes the classification of opaque image areas.
Practice with a Working Digital Sample
Pine cottage · 32 × 32 · 4-dc mesh convention (US terms) · Open: ch 2 + dc · Filled: 3 dc after the shared edge post

Filet crochet Guides & Help
Check Filet Mesh Counts and Row Direction →
Distinguish mesh counts from stitch positions and use the printed convention to review a filet chart.
Add Names and Short Messages to Your Pattern →
Preview block lettering, fit it to your chart and preserve the result in any of the five makers.
Save, Back Up and Resume Your Patterns →
Save local or cloud projects, keep editable backups and resume row progress across all five makers.
Choose PDF, PNG or CSV and Check Print Settings →
Pick the right export, match paper settings and review page boundaries before making your project.
How to Read a Filet Crochet Chart →
Interpret open and filled meshes using the explicit 4-dc convention, and check mesh counts and row direction.