
Workflow
Turn a Photo into a Fuse Bead Pattern
Crop a subject, compare bead palettes and review small details before planning your pegboards.
Originals, made for making
Bamboo red panda
Follow each design from original artwork to an editable chart and an illustrated craft finish. Open the chart to adjust colors, edit cells and print your own version.

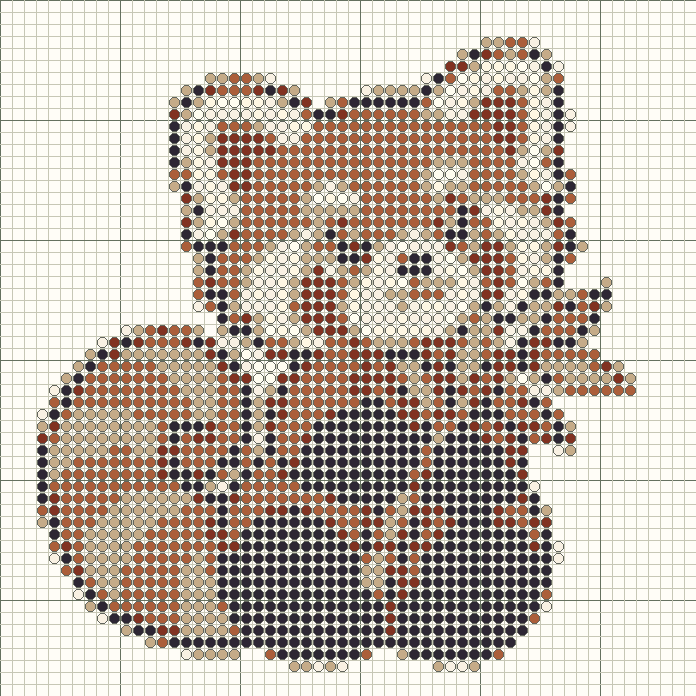
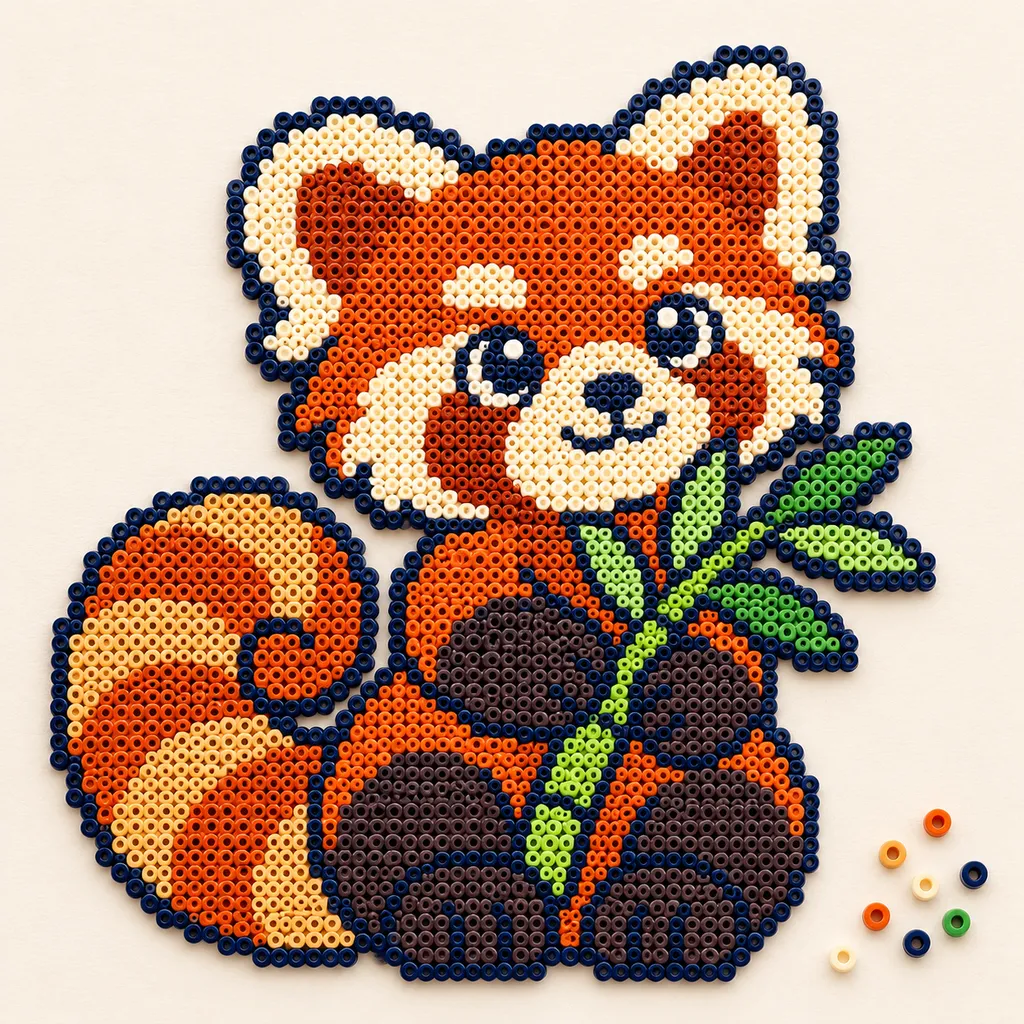
AI mockups illustrate a possible finish, not an exact rendering of the chart. The editable chart is actual tool output; physical making has not been tested.
Find a Recognizable Outline
Use the original artwork shown above, or upload an image you have permission to use. Crop around a recognizable subject and keep its outline inside the frame. Open the example to inspect its editable chart; choose a small grid for your first attempt.
Choose Bead Dimensions Before Adding Detail
The editor accepts 8–160 cells per side on Free or 8–400 with Maker Plus. Each occupied cell represents one bead. A larger chart has room for more detail but can require more boards and materials. Crop the image first, then choose dimensions that preserve its shape. Resize existing canvas adds or removes space; it does not resample a photograph.
Choose Perler References or Custom Colors
Perler Midi 5 mm mode uses 103 community references and up to 12 colors in a chart. Search by name, reference number or SKU when adding or replacing a material. These are approximate screen values. Custom colors let you name your own materials but do not certify a match to a purchasable bead.
Review the Conversion Before Generating
Compare the original and next-chart preview while adjusting crop, brightness and contrast. Edge-background removal only affects similar colors connected to the edge; it does not recognize the subject. Generate to apply the settings, then repair small details manually.
Inspect Details at Board Boundaries
Select 14 × 14 or 29 × 29 sections to match the grid you intend to use. Check a thin wing tip or antenna near a boundary and confirm where adjacent pages meet. The board layout remains rectangular, including partially empty sections. It does not automatically repack disconnected pieces to save boards.
Keep the Chart and Material List Together
Download JSON for editing and use Print / Save PDF for the chart and its key. PNG is a visual reference; CSV lists material counts. Open the saved files and check them before starting. The displayed craft mockup is AI-generated, not a photograph of a physically tested project.
Before you start
- Bead size and board section size match your supplies.
- The outline remains readable at the chosen grid size.
- Materials are checked physically.
- Printed pages are used as reference charts.
Fuse beads Questions
Can conversion use only my inventory?
There is no inventory selector. You can manually add or replace chart colors using the catalog, but automatic conversion is not restricted to a saved collection of owned beads.
Can I place the pegboard on the PDF?
No. Current exports are enlarged reading charts, not actual-size placement sheets.
Does the source photograph show a finished bead project?
The editable chart is a digital example. The craft mockup is AI-generated; it does not prove stitch tension, material colors or finished dimensions. Test a small physical sample before making the full project.
Practice with a Working Digital Sample
Pine cottage · 32 × 32 · Square fuse-bead grids · Perler Midi 5 mm or custom colors · Up to 12 colors per chart · 14 / 29 peg sections

Fuse beads Guides & Help
Plan Bead Colors, Counts and Pegboards →
Read material references, estimate board coverage and check a bead list before starting your design.
Add Names and Short Messages to Your Pattern →
Preview block lettering, fit it to your chart and preserve the result in any of the five makers.
Save, Back Up and Resume Your Patterns →
Save local or cloud projects, keep editable backups and resume row progress across all five makers.
Choose PDF, PNG or CSV and Check Print Settings →
Pick the right export, match paper settings and review page boundaries before making your project.
How to Print a Perler Bead Pattern →
Check reference-chart scale, match board sections and use symbols with the bead counts.